Create ROI Shapes
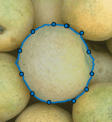
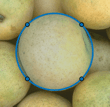
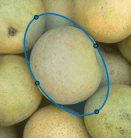
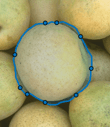
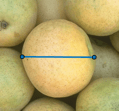
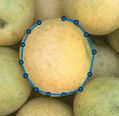
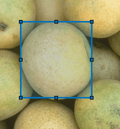
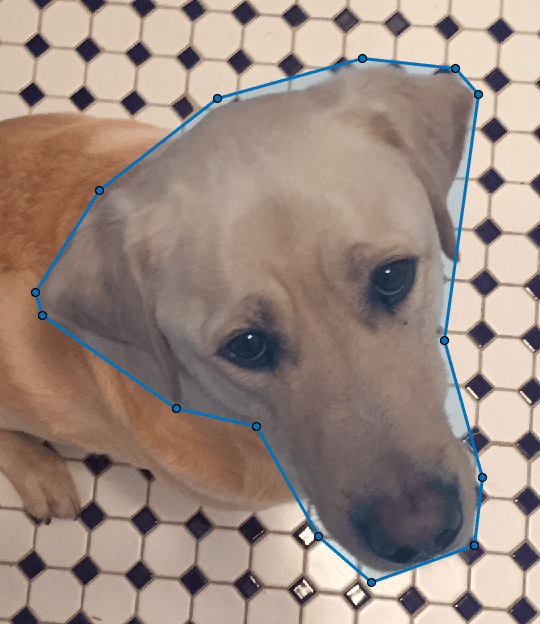
You can create ROI objects that represent ROIs of various shapes, including circles, ellipses, polygons, lines, polylines, rectangles, and hand-drawn shapes. You can also draw freehand shapes that get "assistance" from the underlying image, automatically following the contour of edges. In this figure, you see a polygonal ROI drawn over an image.
You can control aspects of the ROI position and appearance. You can create masks from ROIs and perform other operations. You can also specify how the ROI responds to events that occur within the ROI, such as mouse clicks and movement.
There are three ways to create ROI objects.
Create an ROI interactively by using a creation convenience function. The creation functions enable you to draw the ROI on an image. Use this approach if you do not have prior knowledge of the size and position of the ROI and want to use the image content to assist in the placement of the ROI. For more information, see Create ROI Using Creation Convenience Functions.
Create an ROI programmatically by specifying information about the size and shape of the ROI. Use this approach if you already know details about the size and shape of the ROI, such as the coordinates of polygon vertices or the center coordinates and radius of a circle.
Create an ROI programmatically, then use the
drawfunction to interactively draw the ROI on an image. Use this approach if you want to set the display properties and behavior of the ROI before you specify the size and position of the ROI. Thedrawfunction also enables you to redraw an existing ROI, preserving the appearance of the ROI. For more information, see Create ROI Using draw Function.
The table shows the supported ROIs and their respective creation convenience functions.
| ROI Object | ROI Creation Convenience Function | Description |
|---|---|---|
AssistedFreehand | drawassisted | Freehand ROI that snaps to edges of existing objects in the image
|
Circle | drawcircle | Circular ROI
|
Crosshair | drawcrosshair | Linear ROI that consists of two perpendicular lines
|
Cuboid | drawcuboid | 3-D cuboidal ROI
|
Ellipse | drawellipse | Ellipsoid ROI
|
Freehand | drawfreehand | Freehand ROI that follows the path of the mouse
|
Line | drawline | Linear ROI that consists of a single line segment
|
Point | drawpoint | Point ROI
|
Polygon | drawpolygon | Polygonal ROI that consists of a closed set of line segments
|
Polyline | drawpolyline | Polyline ROI that consists of an open set of line segments
|
Rectangle | drawrectangle | Rectangular ROI
|
Create ROI Using Creation Convenience Functions
This example shows how to create an ROI object by using ROI creation convenience functions. These functions enable you to create the ROI objects interactively by drawing the ROI over an image.
Read and display an image.
I = imread('pears.png');
imshow(I)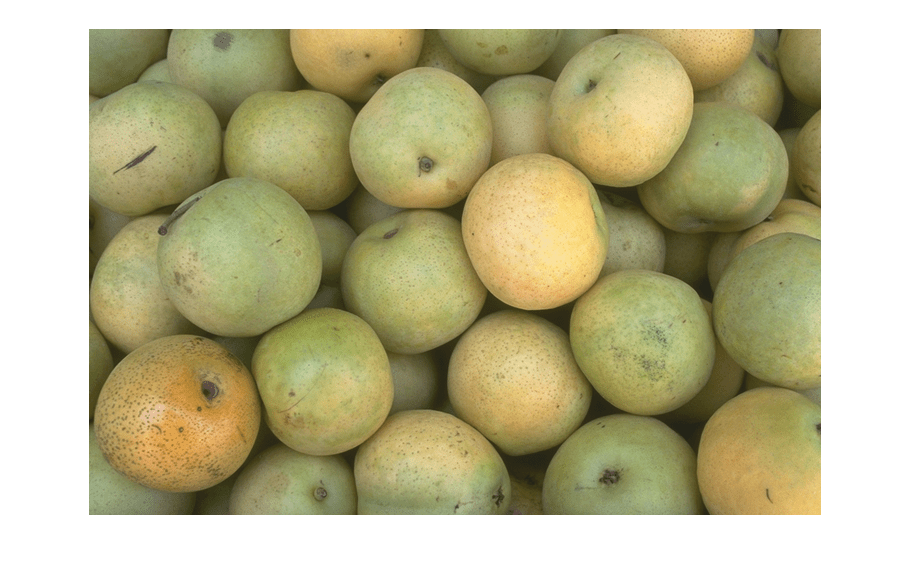
This example creates an ellipsoid ROI. You can use a similar process to create any ROI object.
Create an Ellipse ROI by using the drawellipse function. Customize the look of the ROI by specifying the StripeColor name-value pair argument as yellow.
roi = drawellipse('StripeColor','y');
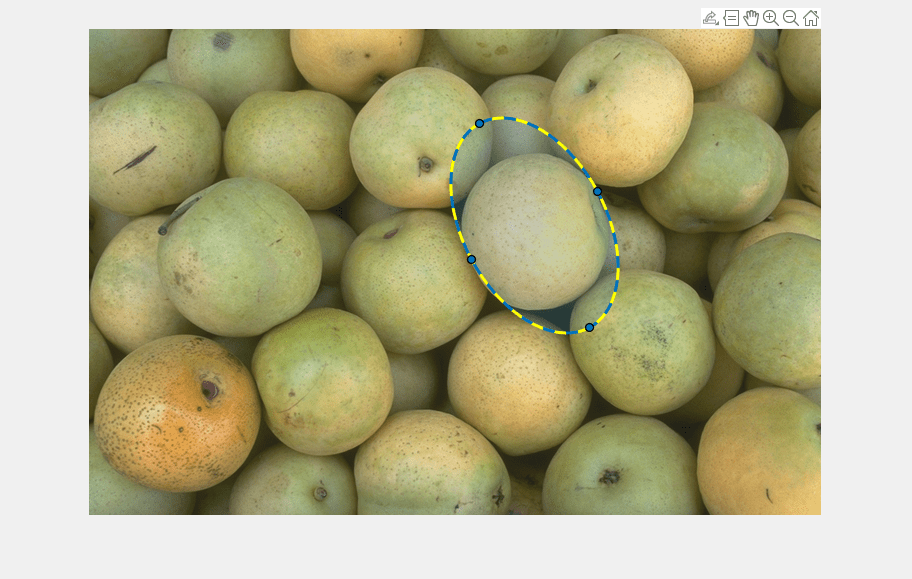
Inspect properties of the ROI.
roi
roi =
  Ellipse with properties:

           Center: [446.0000 197.0000]
         SemiAxes: [115.8836 71.6200]
    RotationAngle: 298.3342
      AspectRatio: 1.6180
            Label: ''
            Color: [0 0.4470 0.7410]
           Parent: [1×1 Axes]
          Visible: 'on'
         Selected: 0

  Show all properties
Create ROI Using draw Function
This example shows how to use the draw function to redraw an existing ROI interactively. This approach is useful if you want to set the display properties and behavior of the ROI before you specify the size and position of the ROI. For example, you may want to create and customize an ROI before you have an axes in which to display the ROI.
This example creates and draws an ellipsoid ROI. You can use a similar process to create any ROI object.
Create an Ellipse ROI programmatically by using the images.roi.Ellipse function. Specify properties to customize the appearance of the ellipse. Here, the face color is cyan and border of the ROI has a red stripe. Do not specify the position of the ROI.
roi = images.roi.Ellipse('Color','c','StripeColor','r');
Inspect properties of the ROI.
roi
roi =
  Ellipse with properties:

           Center: []
         SemiAxes: []
    RotationAngle: 0
      AspectRatio: 1.6180
            Label: ''

  Show all properties
Inspect the parent axes of the ROI. The ROI is not drawn so the parent axes is empty.
roi.Parent
ans =
  0×0 empty GraphicsPlaceholder array.
Read and display an image.
I = imread('pears.png');
imshow(I)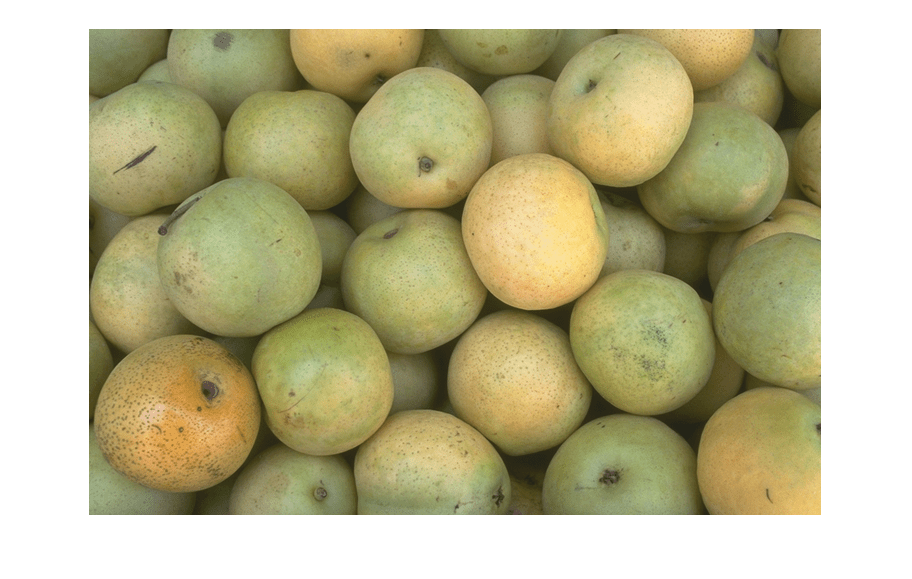
Draw the ROI on the image by using the draw function. Click and drag the cursor over the image to create the elliptical shape. The displayed ROI has the face color and stripe color that you specified when you created the ROI.
draw(roi)
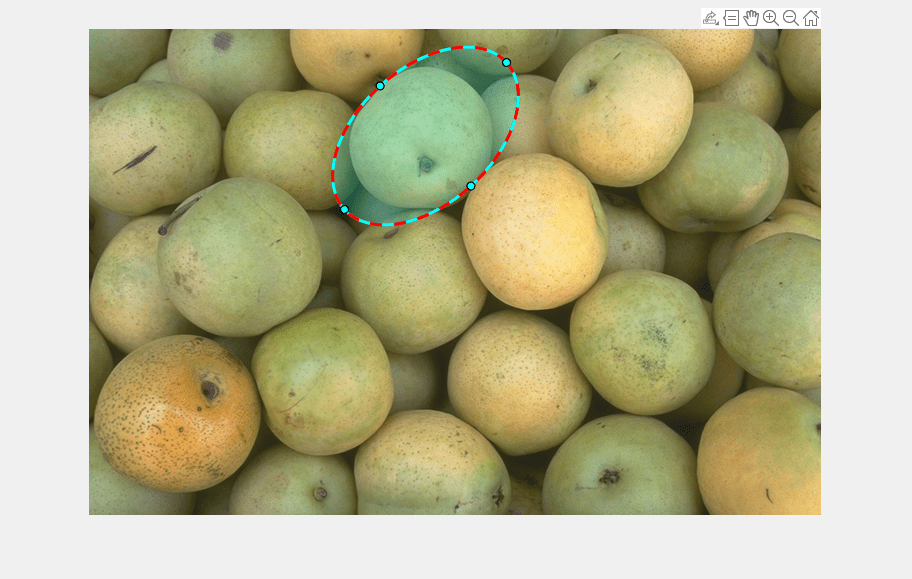
Inspect properties of the ROI. Several properties of the ROI are updated after drawing.
roi
roi =
  Ellipse with properties:

           Center: [337 107.5000]
         SemiAxes: [109.3766 67.5985]
    RotationAngle: 42.2208
      AspectRatio: 1.6180
            Label: ''
            Color: [0 1 1]
           Parent: [1×1 Axes]
          Visible: 'on'
         Selected: 0

  Show all properties
The ROI now has a parent axes. Get all graphics objects who share the same parent axes. In this example, the ROI has the same parent as the displayed image.
roi.Parent.Children
ans =
  2×1 graphics array:

  Ellipse
  Image
Using ROIs in Apps Created with App Designer
You can use ROIs in apps created with App Designer, parenting an ROI in a
UIAxes. You must explicitly specify the UIAxes when calling
the ROI creation function, as an input argument or using the
'Parent' name/value pair. There are a few limitations when
using ROIs in apps in this way:
The mouse cursor does not update when you hover over the ROI. The cursor is always an arrow.
The ROI does not change color when you hover over it.
The ROI right-click menu (
UIContextMenu) is not supported.
The following code, while not a typical app-creation workflow, shows how to
specify an ROI in a UIAxes in an app
(UIFigure).
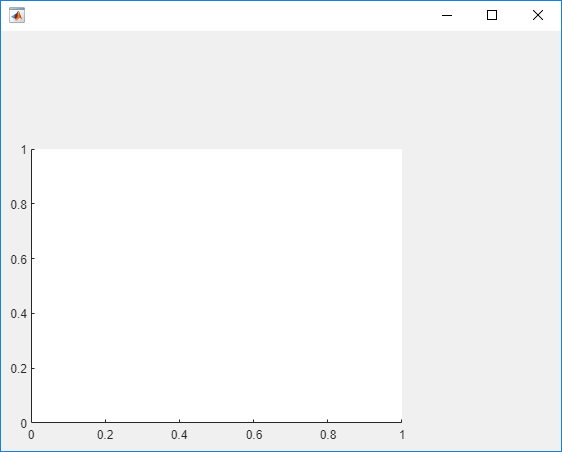
Create a
UIAxes. When you call theuiaxesfunction, it creates aUIFigureautomatically.uax = uiaxes;
Create the ROI in the
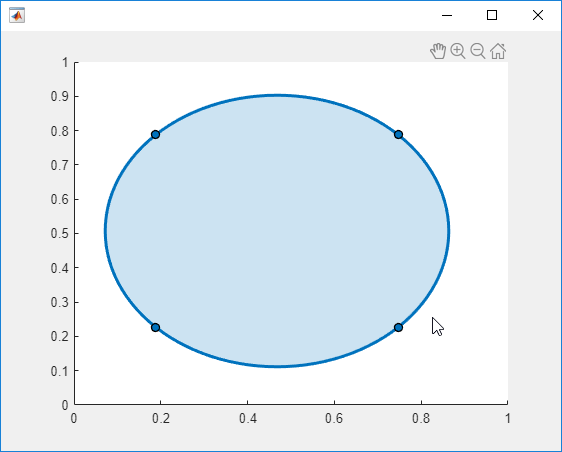
UIAxes. Call any of the ROI creation functions, such asdrawcircle, or the ROI classes, such asimages.roi.Circle. Specify theUIAxesas an argument. Move the cursor over the axes, and click and drag the mouse to draw the ROI. The shape of the cursor does not change when used with aUIAxes.h = drawcircle(uax);
You can also create an ROI using the object creation function, such as
images.roi.Circle. If you use the objects, you must use thedrawfunction to define the shape and position of the ROI.
