Set Up Operating System on Raspberry Pi Board
This section shows how to set up, customize, and configure the operating system on your Raspberry Pi® board using the Raspberry Pi Imager software. It also shows how to enable SSH to securely access the board remotely from another host computer.
Required Hardware
To set up your Raspberry Pi board, you need these hardware components.
MicroSD card with 4GB memory or higher
MicroSD card reader
Power supply for Raspberry Pi board
Ethernet cable
Prerequisite
Before you begin, complete these prerequisites to set up your Raspberry Pi board.
Format the microSD card using SD memory card formatter software.
Download and install the Raspberry Pi Imager software according to the platform on your host computer. This software helps you install the Raspberry Pi operating system.
Customize and Install Operating System Using Raspberry Pi Imager
Insert the microSD card in the SD card adaptor and connect the adaptor to your host machine. Follow these steps to customize and install the operating system on your microSD card.
Launch the Raspberry Pi Imager application.
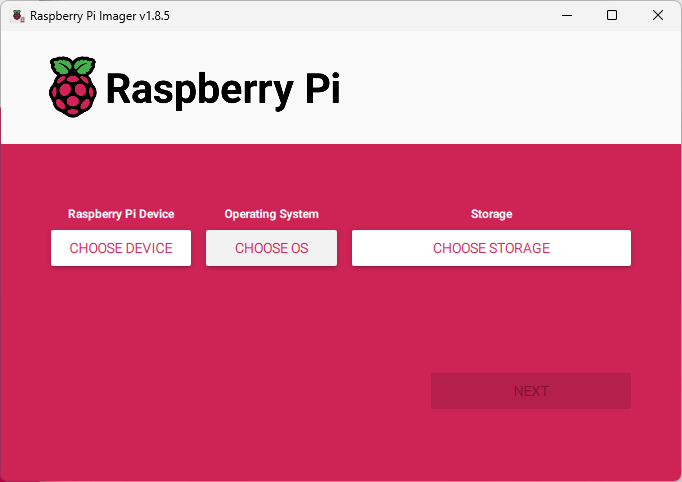
Select from these options.
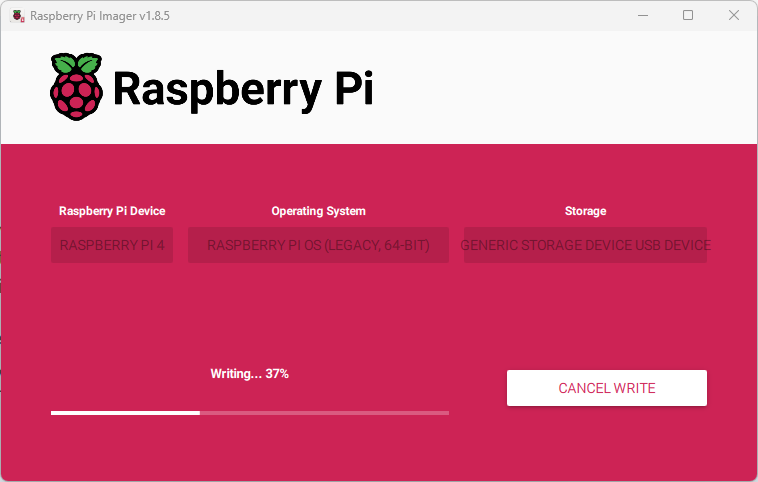
Choose Device — Select your Raspberry Pi model type.
Choose OS — Select the operating system to install on your Raspberry Pi board.
Choose Storage — Insert the microSD card in your host computer and select your card.
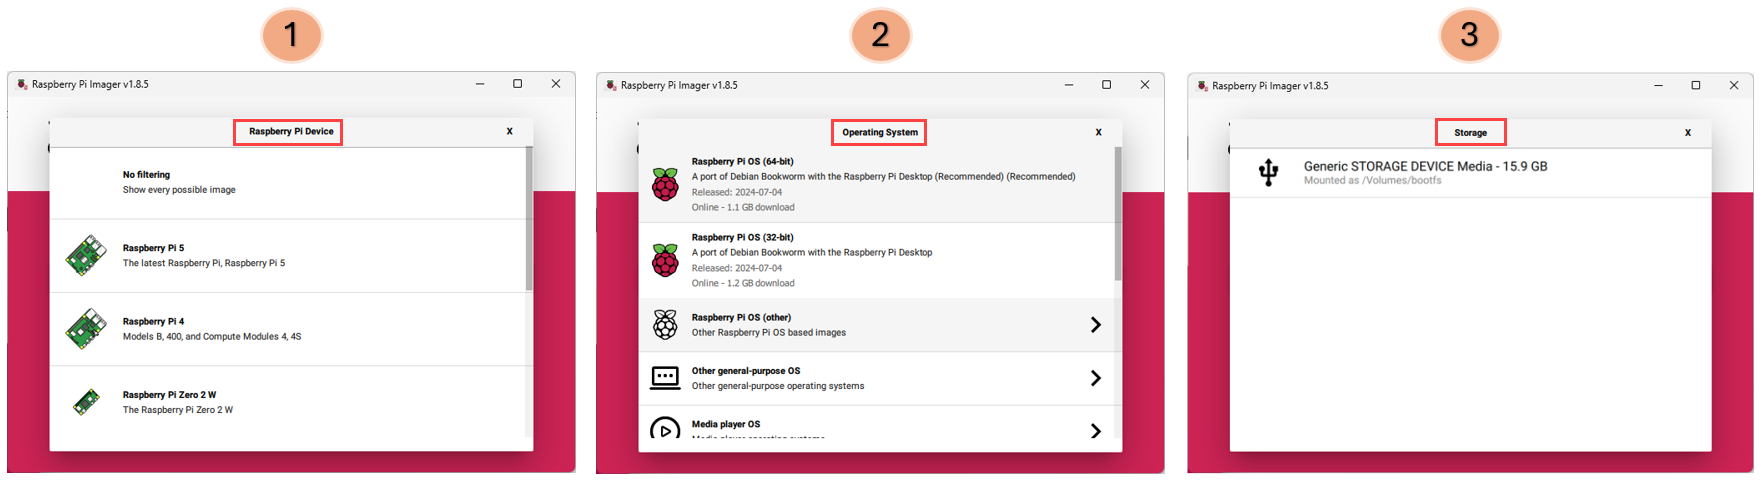
Click Next to proceed.
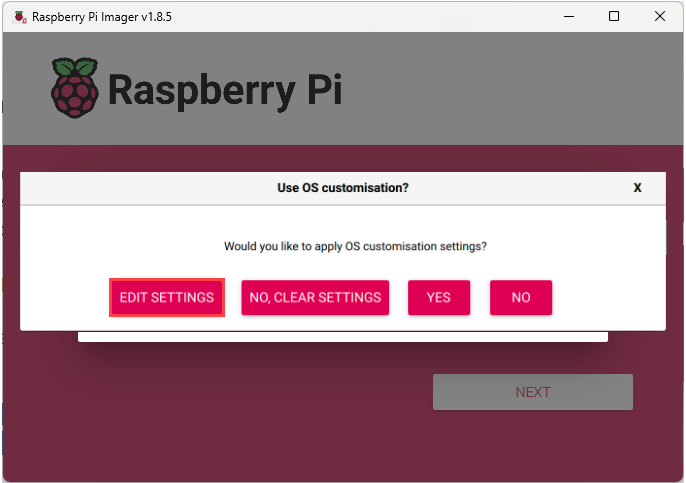
In the Imager app, to configure your Raspberry Pi using the OS customisation settings, click Edit Settings.
In the OS Customization window, go to the General tab and configure these properties for your Raspberry Pi board.
Set hostname — Enter the hostname of your Raspberry Pi board on the network.
Set username and password — Enter the username and password of the admin user account on your Raspberry Pi board.
Click Save to save the customized options.

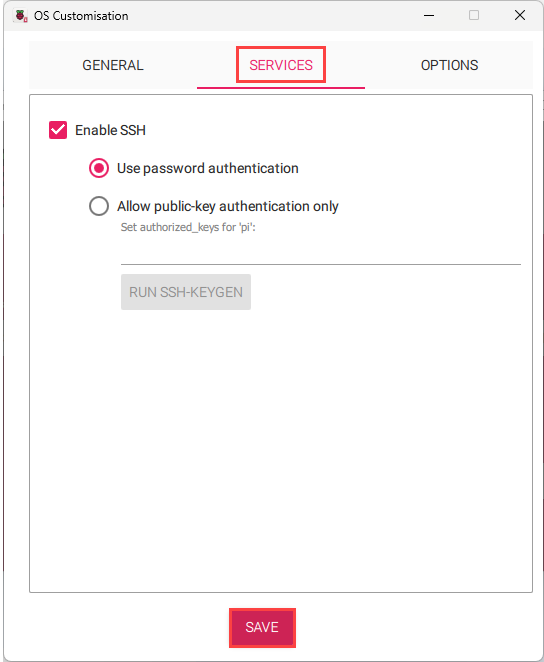
In the OS Customization window, go to the Services tab. Select Enable SSH > Use password authentication to establish an SSH connection with your Raspberry Pi over the network using the username and password provided in the General tab of the OS Customization window. Click Save to save the customized options.
Click Yes to apply the OS customisation settings when you write the image to the SD card.
Grant the necessary permissions to continue with the setup process.
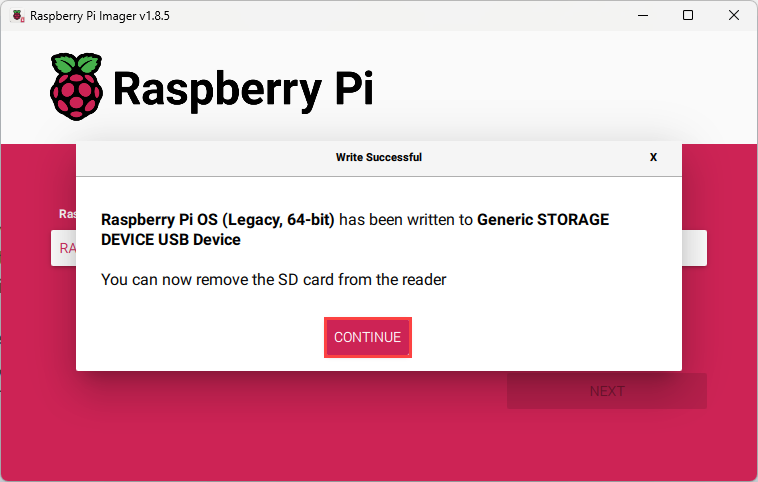
Once you see the Write Successful dialog box, the Imager application has successfully written and verified the OS image on your microSD card.
Set Up your hardware
After writing the OS image on your SD card, safely eject the microSD card from your host computer. Insert the card into the slot on the underside of your Raspberry Pi board.
Power up the Raspberry Pi board.
If using a wired connection, connect an Ethernet cable from the Raspberry Pi board to the router. If using a wireless connection, ensure that your Raspberry Pi board and host computer are connected to the same network.
Get the IP address of your Raspberry Pi board. For more information, see Get IP Address of Raspberry Pi Hardware.
After you successfully install the operating system on the Raspberry Pi board, you can manually configure the network configuration parameters such as, the IP address, router, and DNS settings for your Raspberry Pi board.
You can now follow the steps in the Hardware Setup section to configure your Raspberry Pi board for Simulink® workflows using the Hardware Setup window.
See Also
Install Support for Raspberry Pi Hardware | Supported ARM Cortex-A Processors for Raspberry Pi Hardware