Capturing a High Dynamic Range Image in MATLAB
This example shows how to create a High Dynamic Range (HDR) image using multiple images captured at different exposures in MATLAB®.
This leverages GenICam™ compliant cameras to capture images at varying exposures, and processing these images in MATLAB to produce an HDR image.
What you need for this example:
Image Acquisition Toolbox™
A GenICam compliant camera that supports the sequencer mode
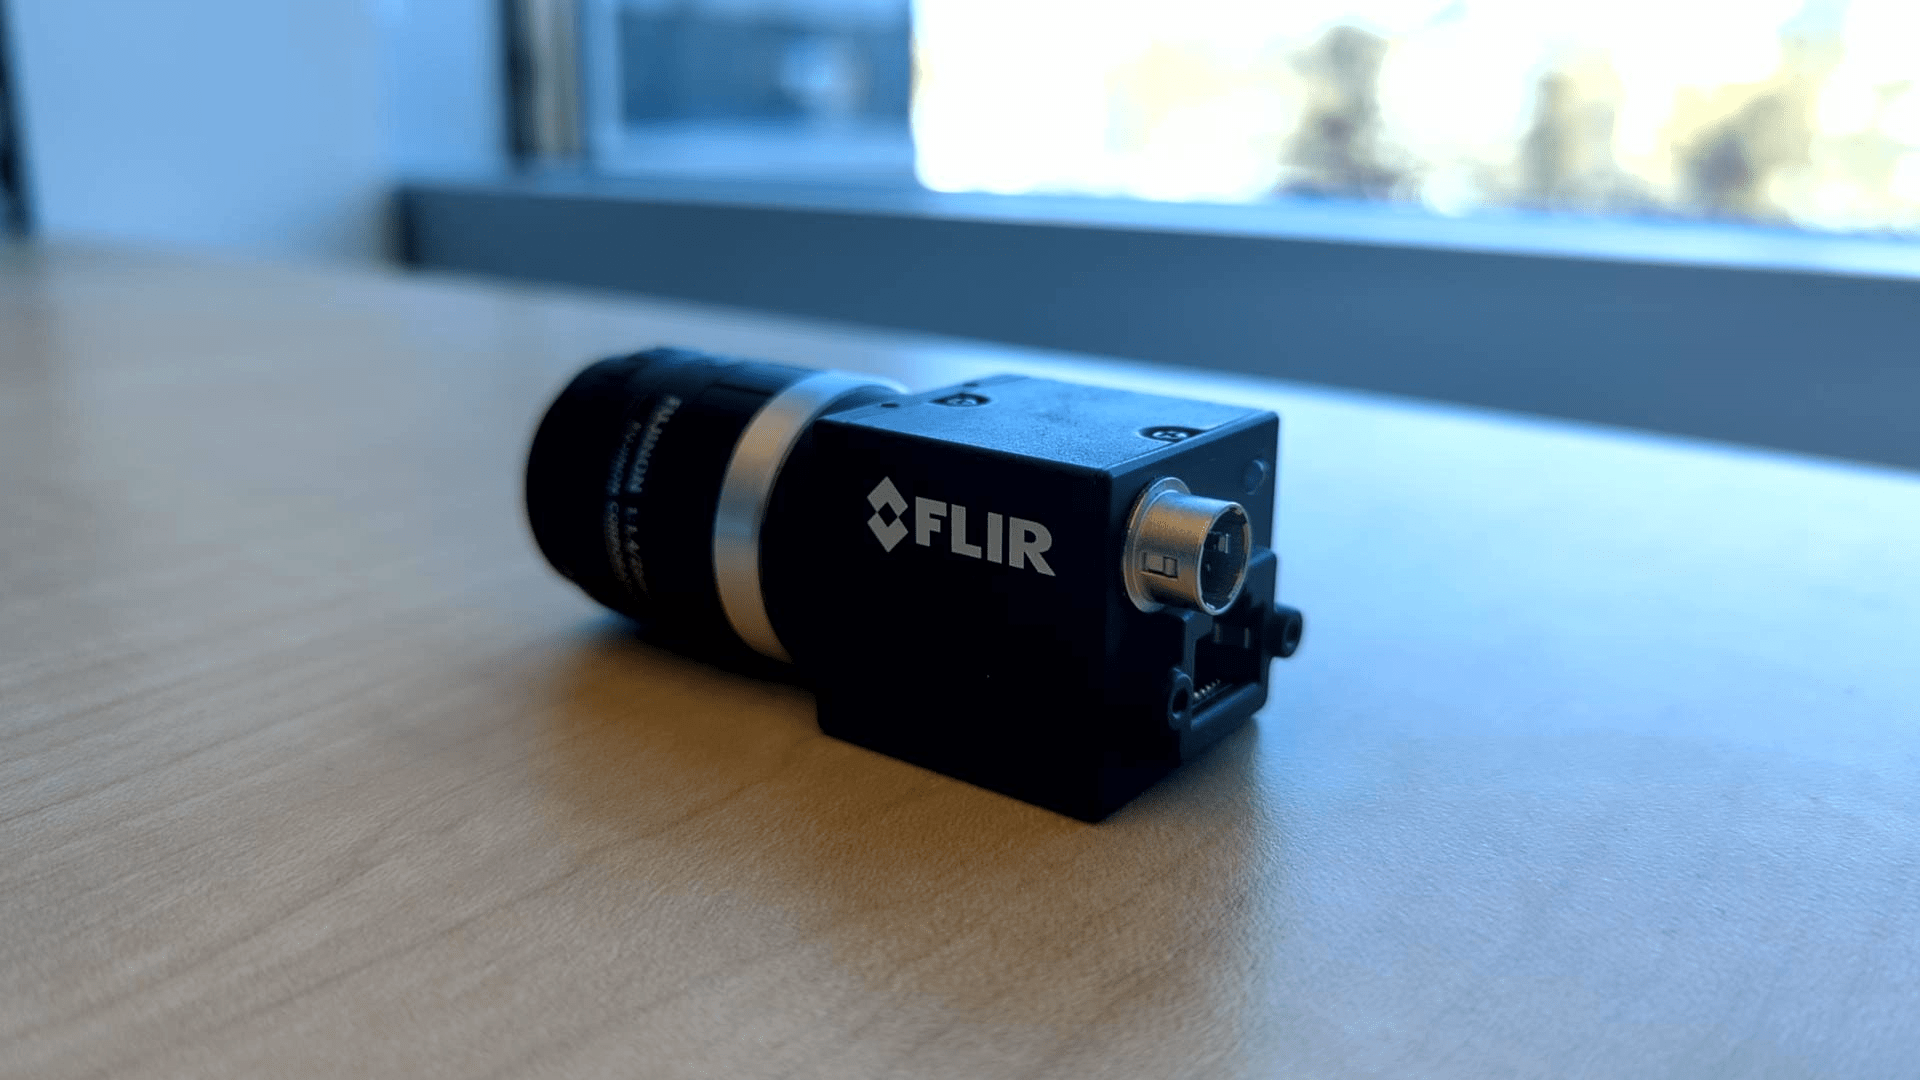
This example was created using a FLIR Blackfly S camera, but should work with some modifications for any GenICam compliant camera that supports sequencer mode.
About HDR Imaging
HDR imaging is a technique used in photography, scientific/technical imaging, and image processing to reproduce a greater dynamic range of luminosity than what is possible with traditional standard digital imaging techniques. This allows capturing details in both the shadows and highlights of an image.
Understanding Multiple Exposures
There are a variety of ways to take HDR images, including sensors that are specifically designed for it. This example demonstrates a simple approach that uses a regular color camera configured to acquire images taken at multiple exposure times, then combined into a single HDR image.
Using multiple exposures to create an HDR image involves capturing several images of the same scene at different exposure durations. This approach allows for the capture of a wider range of light intensities, which can be combined to create an HDR image that represents the scene more accurately.
Using multiple exposures can help in capturing the full dynamic range of a scene, especially in situations with both very bright and very dark areas. This allows for better overall image details and helps prevent bright areas from being overexposed.
Create a VideoInput Object
To create a videoinputobject, use the setupVideoinput helper function included with this example. This function creates the videoinput object and configures it appropriately for the acquisition and returns the configured object. For more information, see the setupVideoInput helper function.
View available cameras.
dev = imaqhwinfo('gentl');
dev(:).DeviceIDs
ans = 1×1 cell array
{[1]}
dev(:).DeviceInfo
ans = struct with fields:
             DefaultFormat: 'Mono8'
       DeviceFileSupported: 0
                DeviceName: 'FLIR Blackfly S BFS-PGE-16S2C'
                  DeviceID: 1
     VideoInputConstructor: 'videoinput('gentl', 1)'
    VideoDeviceConstructor: 'imaq.VideoDevice('gentl', 1)'
          SupportedFormats: {'BGR8'  'BayerRG16'  'BayerRG8'  'Mono10Packed'  'Mono12Packed'  'Mono16'  'Mono8'  'RGB8Packed'  'YUV411Packed'  'YUV422Packed'  'YUV444Packed'}
Use the helper function to create a videoinput object and configure the camera
vidObj = setupVideoinput("gentl","1","BayerRG8");
Get the source properties from the videoinput object.
src = getselectedsource(vidObj);
Configure the Camera to Log Frame Metadata Using ChunkData
The FLIR Blackfly S camera supports the ChunkData GenICam feature, so that metadata is returned with each frame. This metadata can include things like the exact exposure time for the frame, and the timestamp the frame was acquired. If this feature is available, you can use it to get the most accurate exposure time, otherwise exposure times will be based on what the camera reports it is set to.
Enable Chunkdata if it is available on the hardware.
chunkNamesActive = chunkdataConfig(src, ["ExposureTime","Timestamp"]);
ChunkModeActive is True
Chunk names active: CRC ExposureTime Timestamp
Configure Camera to Cycle Between Different Exposure Times
To acquire a sequence of frames taken with different exposure times you can use the camera sequencer functionality. Configure the camera to acquire one frame for each specified exposure time by using the sequencerConfigExposures helper function. Then set the camera to automatically cycle through the series of exposure times by turning on SequencerMode.
Create an array of the desired exposure times. Set the number of frames acquired equal to the number of exposure times. Exposure times are specified in milliseconds.
exposures = [0.1 0.2 0.5 1 2 5 10 20];
vidObj.FramesPerTrigger = length(exposures);
Configure camera sequencer functionality using sequencerConfigExposures helper function. It is expected that this throws warnings if the camera's exposure time does not match the specified value exactly, as the camera automatically adjusts the exposure to the nearest possible value.
actualExposureTimes = sequencerConfigExposures(src,exposures);
Warning: ExposureTime property adjusted from 100 to 105 by the camera.
Warning: ExposureTime property adjusted from 200 to 198 by the camera.
Warning: ExposureTime property adjusted from 1000 to 1001 by the camera.
Warning: ExposureTime property adjusted from 2000 to 2002 by the camera.
Warning: ExposureTime property adjusted from 5000 to 5004 by the camera.
Warning: ExposureTime property adjusted from 10000 to 9996 by the camera.
Warning: ExposureTime property adjusted from 20000 to 20004 by the camera.
Turn on SequencerMode so that the sequence we just configured is active on the device.
src.SequencerMode = "On";Capture Images
Start the acquisition and wait for it to finish.
start(vidObj);
Warning: The DeviceLinkBandwidthReserve property could not be set. Check the current value before continuing your work.
Warning: The ExposureMode property could not be set. Check the current value before continuing your work.
wait(vidObj);
Turn SequencerMode off when the acquisition is done.
src.SequencerMode = "Off";Copy the frames into the workspace. Use 'cell' output to make it more convenient to work with the makehdr function.
[frames, timestamps, metadata] = getdata(vidObj,vidObj.FramesPerTrigger,'native','cell');
Combine Frames to Make an HDR Image
When you have acquired your frames, the next step is to combine them into an HDR image using the makehdr function in MATLAB. This function takes in a cell array of frames with their exposure times, and creates an HDR image from that information. After the HDR image is created, use the tonemap function to create an image suitable for display.
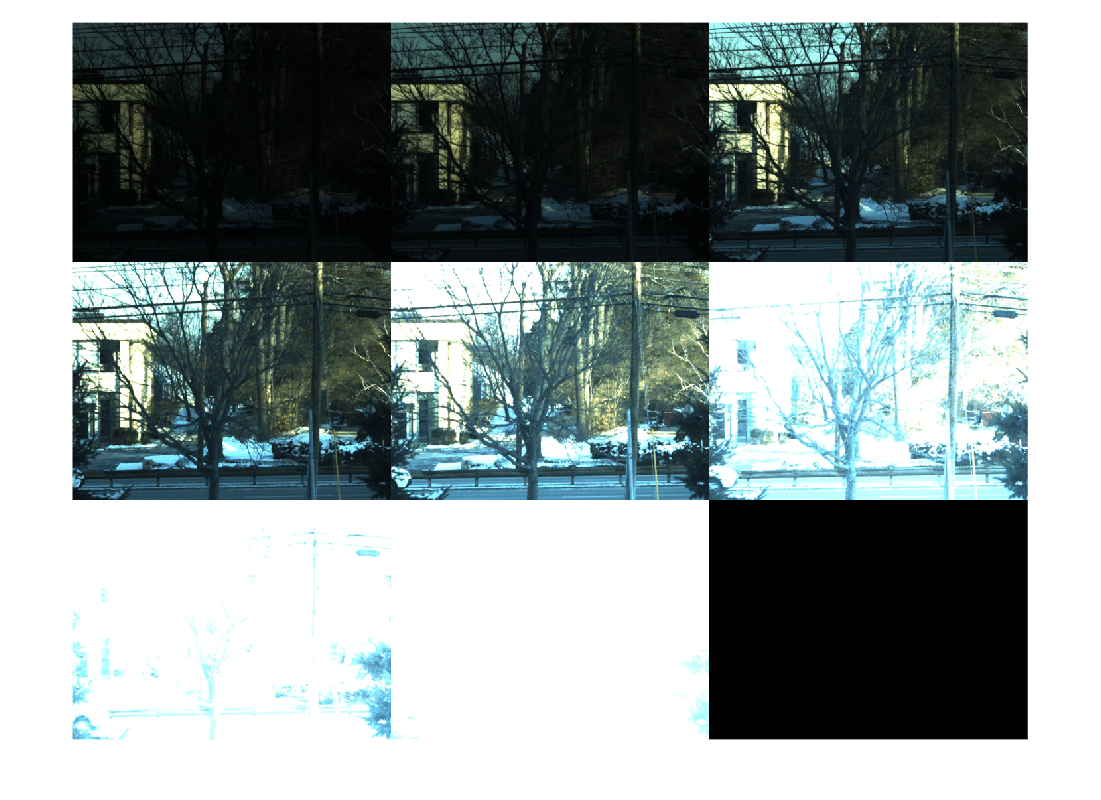
Display all the images as a montage.
montage(frames);
If camera supports chunk data functionality, use the exposure time metadata returned for each frame.
if isfield(metadata,'ChunkData')
    chunkDataTable = createChunkDataTable(metadata);
    actualExposureTimes = chunkDataTable.ExposureTime;
end
Calculate the ratio of the exposure times vs the frame closest to the middle of the set.
relativeExposures = actualExposureTimes/actualExposureTimes(round(numel(actualExposureTimes)/2));
hdrimg = makehdr(frames, RelativeExposure=relativeExposures);
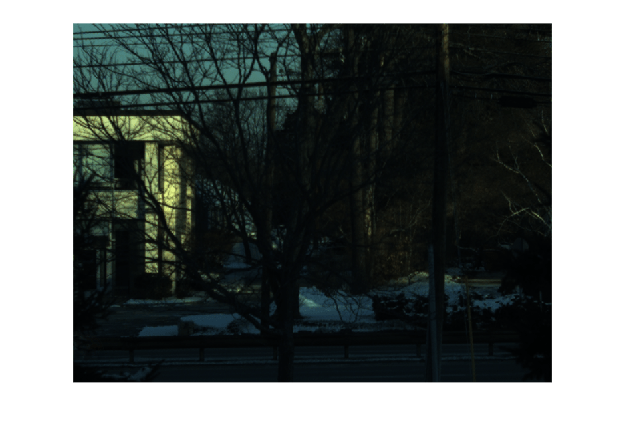
Rescale and display the raw HDR image.
figure;
scaledhdr = rescale(hdrimg);
imshow(scaledhdr);
Use tonemap to compress the image data to an 8-bit range for a typical display, and increase color saturation.
mapped = tonemap(hdrimg, AdjustSaturation=4);
Display the tone-mapped image.
figure;
imshow(mapped);
title('Tone-Mapped HDR Image');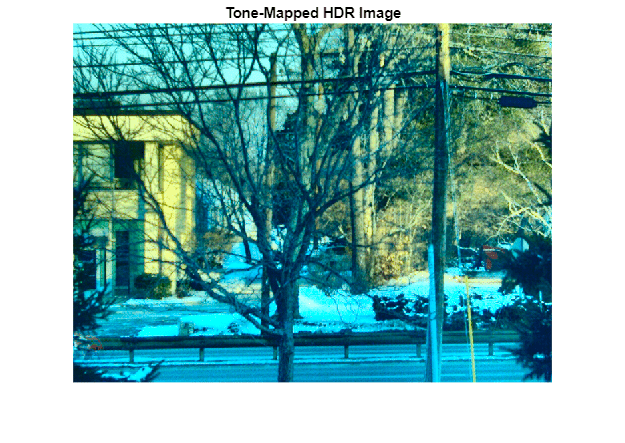
Optionally, save the tone-mapped image to a file.
imwrite(mapped, 'tone_mapped_hdr.png');