Upgrade Models Using Upgrade Advisor
This example shows you how to fix your Simulink® models and upgrade them to the current release using Upgrade Advisor. The Upgrade Advisor tool runs checks, fixes errors, and incorporates new Simulink functionality.
Open Upgrade Advisor
Open the model you want to upgrade.
openExample("sldemo_mdladv")Select and Run Upgrade Checks
Use the Upgrade Advisor to run all selected checks.
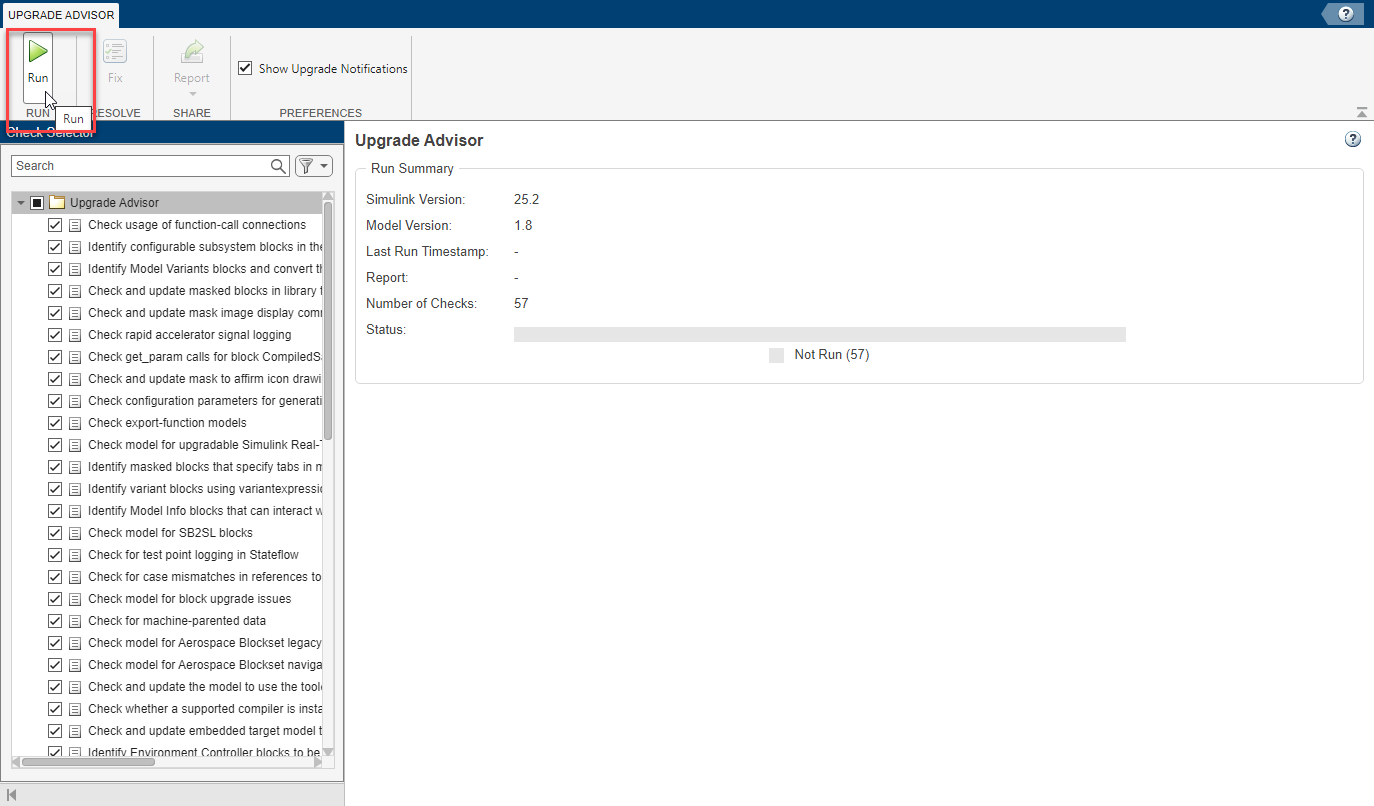
Select the Upgrade Advisor node.
In the toolstrip, click Run Checks.
Tip
For models with no hierarchy, by default, the Upgrade Advisor selects and runs all checks except the Analyze model hierarchy and continue upgrade sequence check.
For model hierarchies, use the Analyze model hierarchy and continue upgrade sequence check to guide you through upgrade checks. You must first run checks that do not require compile time information and do not trigger an Update Diagram. You then run the compile checks. For more information, see Analyze model hierarchy and continue upgrade sequence.
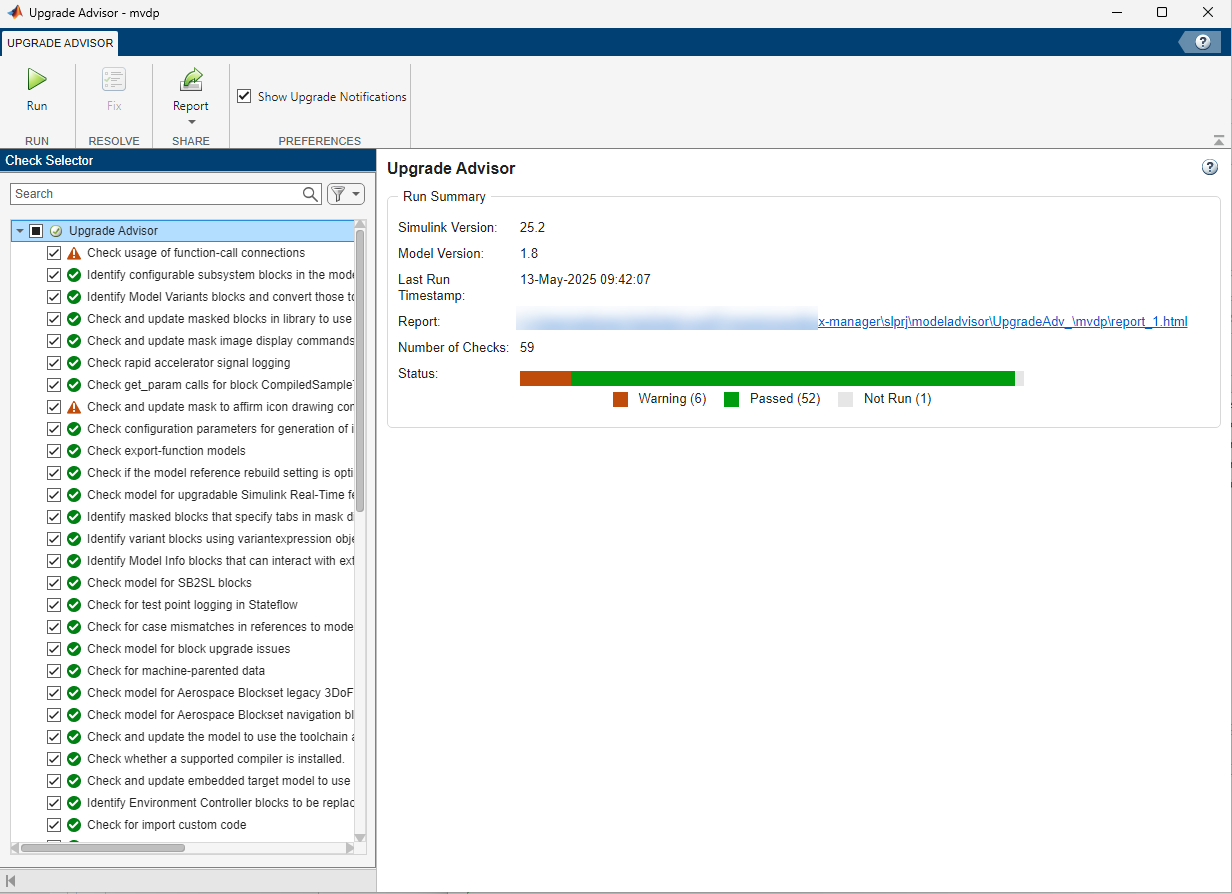
The Upgrade Advisor runs the selected checks and shows a summary in the Run Summary section on the right.
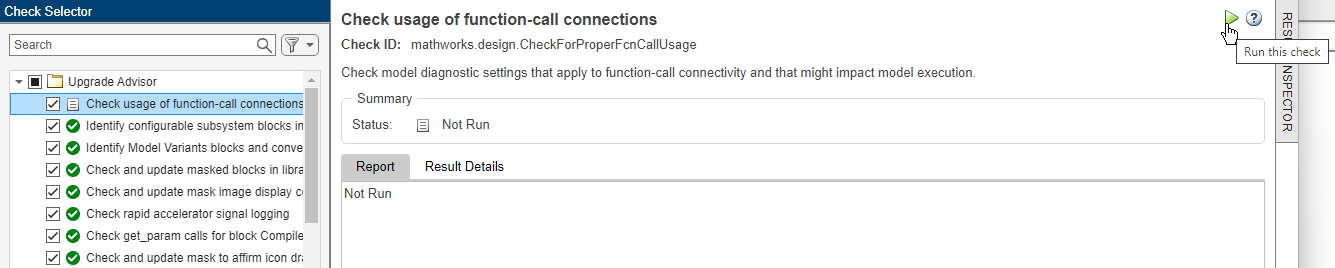
To run one individual check, right-click the check and select Run This Check. Alternatively, select the check and use the button in the right pane.
Save Upgrade Check Results in Report
To save the results of all checks you run in a report, follow these steps:
Select the Upgrade Advisor node.
In the Share section, click Report. Then, select from the available options.
Specify the name and location of the report.
Tip
After you fix a check with warnings or failures, rerun the check before you create an Upgrade Advisor report.
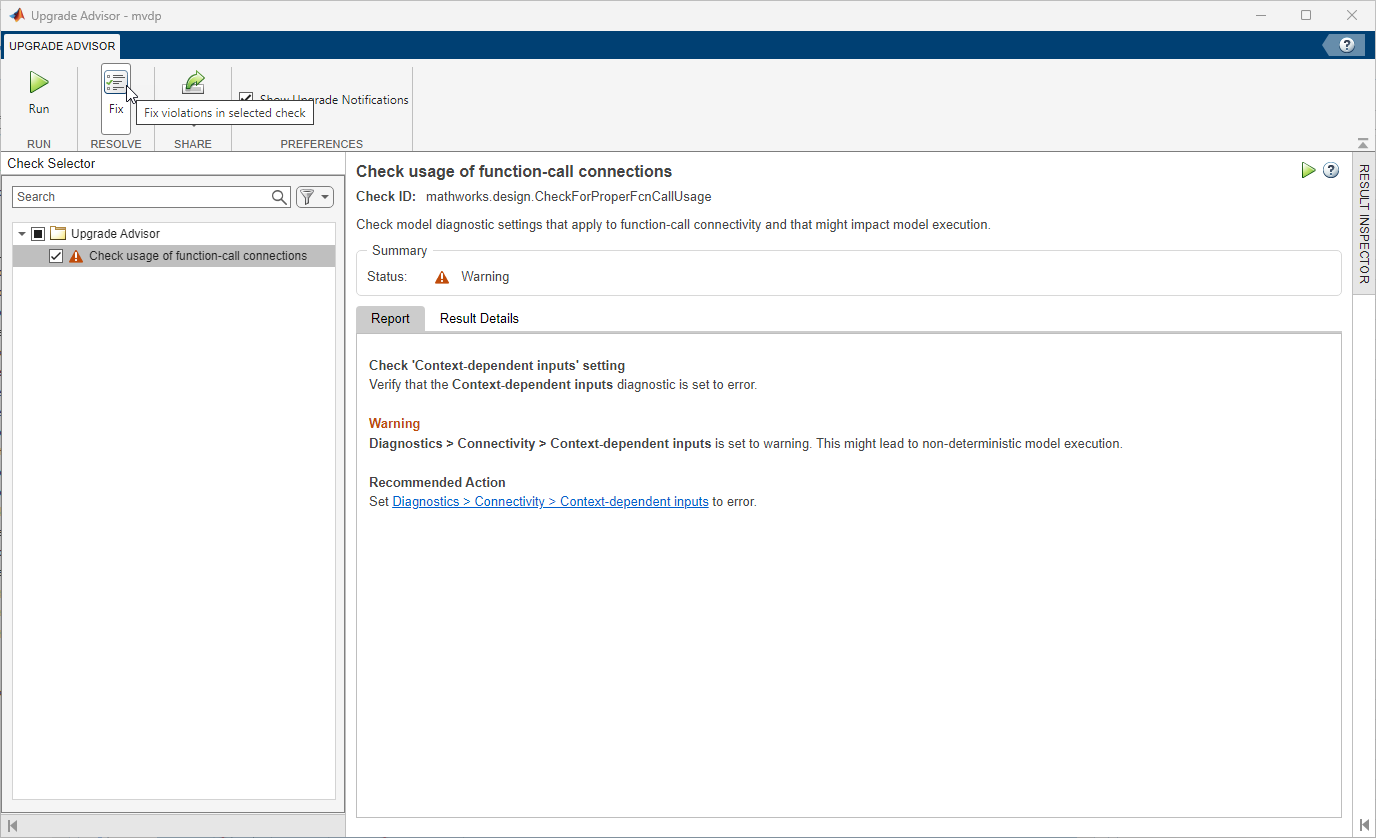
Investigate and Fix Check Warnings and Failures
Inspect the summary of the checks you run by selecting the Upgrade Advisor node. In this example, one check shows a warning.
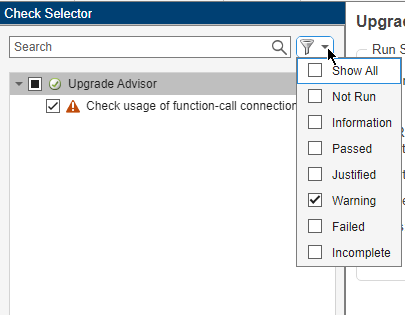
To view only the checks that show a warning, filter the checks in the Check Selector pane.
To investigate and fix a warning or a failure in a check, follow these steps:
Select a check that did not pass.
Inspect the details in the right pane to view the analysis and the recommended fixes.
Fix the warning or failure manually by following the recommended steps. In some cases, you can fix issues automatically by clicking the Fix button in the toolstrip.
If you do not want to fix a check, follow these steps to mark the violation as justified instead.
Select the check. Then, click Justify.
Enter the rationale for justification in the Justifications field in the Result Inspector.
Click Add Justification.
Tip
For more information on individual upgrade advisor checks, see Model Upgrades.